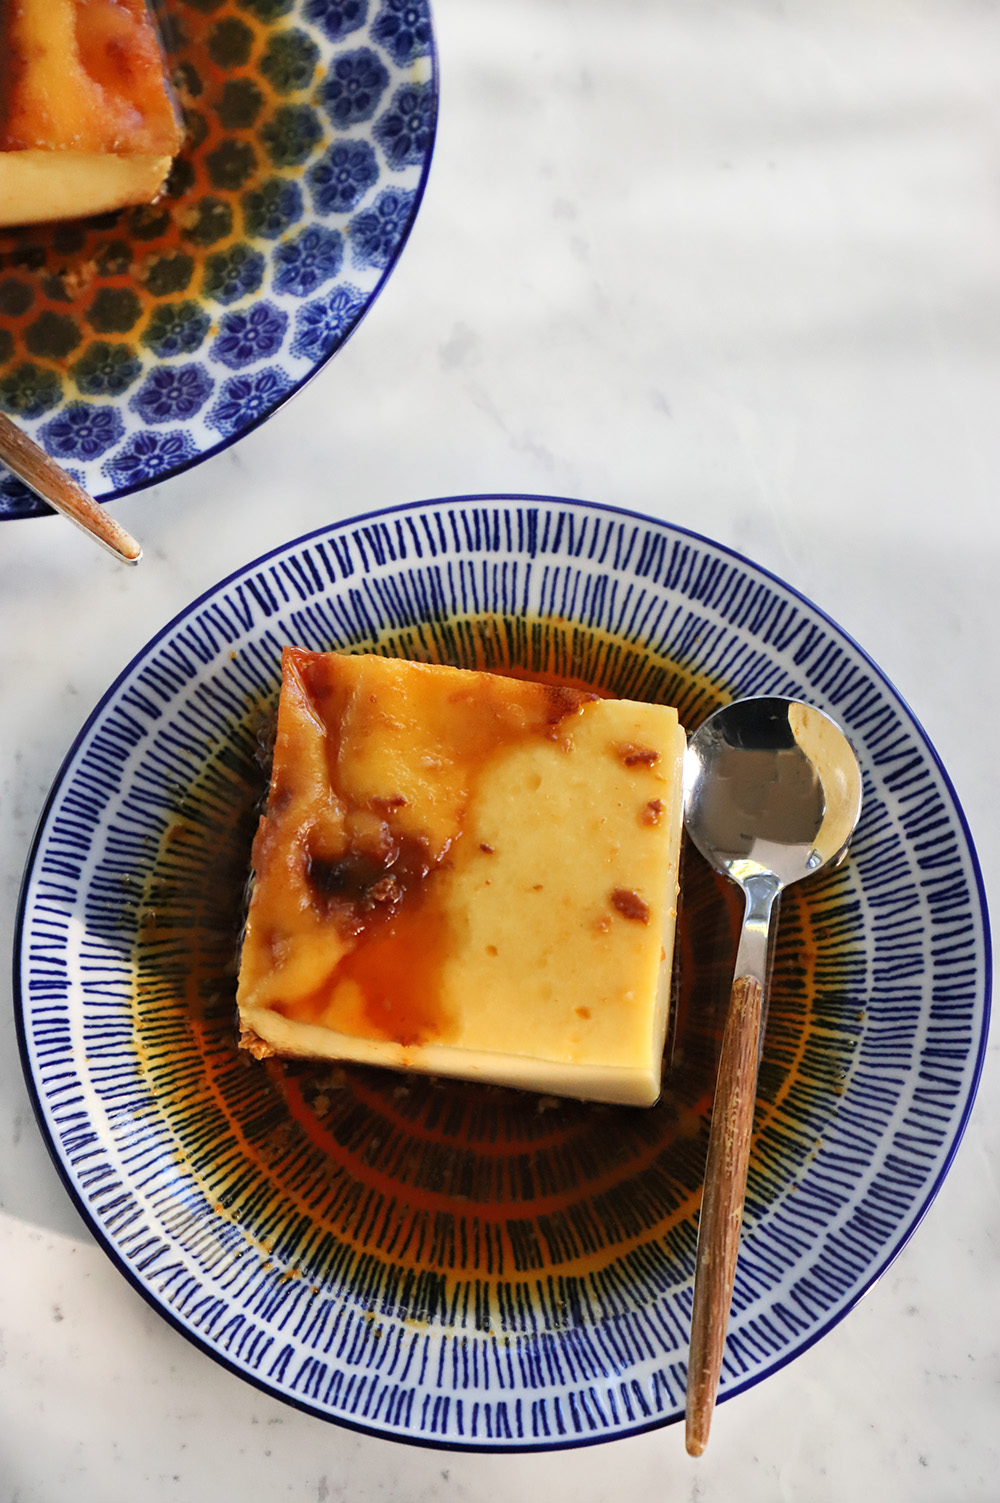
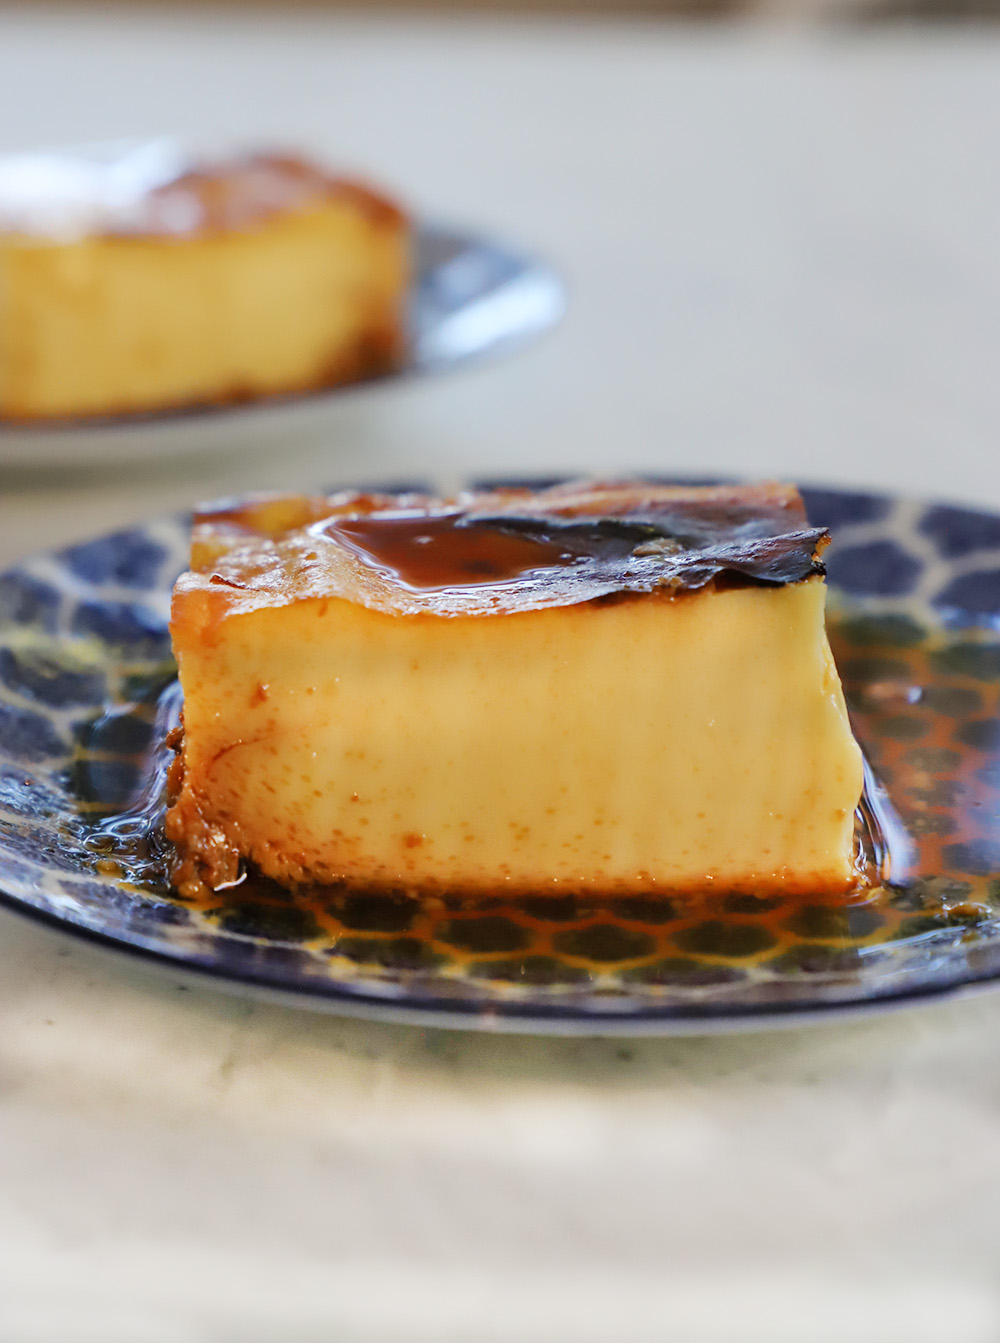
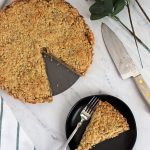
Baked milk flan is a very popular dessert in Chile. There are different varieties in terms of preparation, and although many people confuse it with flan, baked milk has its own personality. Its texture is firmer and slightly granular, featuring a toasted surface that makes it utterly irresistible. It is a dessert humble in its ingredients—milk, eggs, and sugar—yet rich in technical nuance. And one of those details—perhaps the most dreaded one—is the caramel.
If you’ve ever had it turn out bitter, too hard, or stuck to the mold, you’re not alone. Making caramel can be intimidating, but once you understand how it works, it becomes a simple process.
It is a dessert that appears simple on the surface, yet where the smallest details make all the difference.
UPDATE: This recipe was originally published in March 2007. Today, I am republishing it with improvements to the recipe itself, as well as the addition of new tips and recommendations.

What exactly is baked milk?
Baked milk is a traditional dessert that is very popular in several Latin American countries. It is prepared using a mixture of milk, eggs, sugar, and vanilla, which is baked directly in a caramel-lined dish—without a *bain-marie* (though some versions do use one).
The key differences compared to *flan* are:
- Texture: Firmer and slightly porous
- Surface: Golden or toasted from the oven
- Method: Generally baked directly
- Flavor: More intense due to the caramelization on top
The secret to a good texture: The right mixture
Before discussing the caramel, there is one important point: how to mix the ingredients.
Many people beat the eggs too vigorously, incorporating air. This creates bubbles and results in an uneven texture.
Key Tip:
- Beat gently—just enough to combine the ingredients.
- You can use a hand whisk or even a wooden spoon; you do not need an electric mixer.
- Another important tip is to strain the mixture before pouring it into the mold. This removes any unmixed egg white remnants and significantly improves the final texture.
The Perfect Caramel
Making caramel isn’t difficult, but it requires attention. Sugar goes through several stages before transforming into caramel, and the goal is to achieve a deep amber color without letting it burn.
Step-by-Step Guide to Ideal Caramel
- Place the sugar and water in a small pot or saucepan.
- Set over medium heat without stirring.
- Wait for it to begin bubbling.
- When it turns golden brown, gently move the pot (do not use a spoon).
- Remove from the heat when it reaches an amber color.
That color is key: not too light (it will be sweet without a deep flavor), nor too dark (it becomes bitter).
Tips to make sure your candy doesn’t fail
Here are the most important tips that make the difference between a successful candy and a frustrating one.
1. Do not stir with a spoon
Stirring with utensils can cause the sugar to crystallize. Just tilt the pot gently if you need to distribute the heat.
2. Use medium heat, not high. High heat burns the candy before you can control it.
Patience = success.
3. Remove it before it looks ready
The caramel continues to darken for a few seconds after being removed from the heat due to residual heat.
If you wait too long, it will burn.
4. If it hardens very quickly in the mold
This is normal. Just distribute it as quickly as possible by tilting the mold—and be very careful.
It doesn’t need to be perfect.
5. Bitter caramel?
It likely got too dark.
Ideal caramel has a dark honey or amber hue—not a very dark brown.

A useful trick: caramel with a touch of lemon
Adding a few drops of lemon juice to the sugar before cooking helps prevent crystallization.
It does not change the final flavor.

How to Achieve a More Intense Flavor
Small adjustments can elevate the result:
- Use whole milk
- Add an extra egg yolk
- Incorporate vanilla extract
Can it be made with less sugar?
Yes, but proceed with caution.
Reducing the sugar too much affects:
- Texture
- Color
- Flavor
One option is to reduce it by 20% without any issues.

Storage and Shelf Life
Refrigerated:
- Lasts 3 to 4 days
- Keep tightly covered
Freezing is not recommended, as the texture changes.

Here is the recipe for Pineapple and coconut flan, for you to compare and see that it’s quite different from the Baked Milk Flan. I also share here an exquisite dessert that perhaps will bring back some childhood memories for many, the famous Snow Milk .
Baked Milk Flan
- Yield: 8 1x
Ingredients
- 1 liter (1 quart) of milk
- 1 cup (190 g; 6.7 oz) granulated sugar (for the milk mixture)
- 1 teaspoon of vanilla extract
- 6 eggs
- 3/4 cup (140 g; 5 oz) of granulated sugar (for the caramel)
Instructions
- Beat the whole eggs, and gradually adding the milk, 1 cup of sugar, and vanilla extract. Bring to a low heat until the sugar dissolves. Set aside.
- Prepare the caramel: Moisten the granulated sugar with 3 tablespoons of water and bring to a low heat, until it melts completely and turns golden brown, you should not stir. Pour this caramel over the bottom and sides of a baking mold.
- Then pour the milk mixture into the mold, and bake for about 40 minutes at 400°F (200°C). Let it cool in the oven as much as possible.

In an era filled with complex recipes and sophisticated techniques, baked milk reminds us that great flavors come from simplicity.
A few ingredients, patience, and love can create a dessert that evokes memories, unites generations, and always leaves a smile after the first bite.
And when you achieve that perfect caramel —shiny, amber, with a deep flavor— you understand that cooking is also about learning to trust the process.


Leave a Reply